That idea came around December 2019, and I try to implement it from January 2020 to March. COVID situation was a great help, because it gave me time and the possibility to wear my aligners.
I started wearing them on March 12th, and I’m currently wearing my last piece. It’s been 5 months, and I’ve almost reach my goal ! (photos will come soon)
I still want to do another round of aligners : As my teeth moved, my 3D model is not good enough to work on it, and need a more recent one. I also want to correct some small imperfections. I’m on holidays now, far from my 3D printer and tools, so I will resume it in September.
From now, here is what I can conclude on this project :
-
-
- Time : I spend some time on this, probably close to a hundred hours between research and testing. The thermoforming part was clearly the longest, more than 3/4 of my time.
- Money : It’s was really cheap (Alginate powder, plaster and 60 sheets of dental plastic were bought for less than 30€). I used around 1kg of PLA (15€) and already owned the tools.
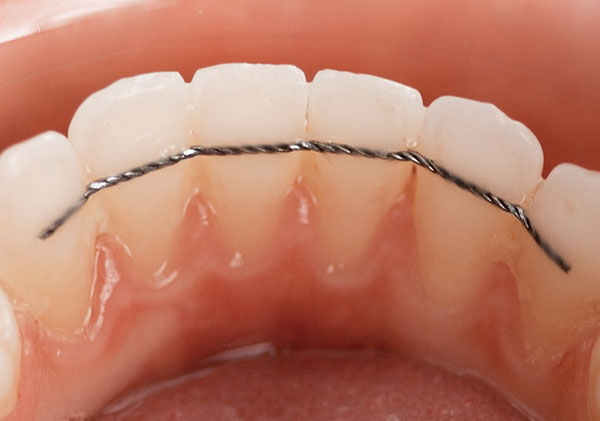
- Efficiency : It’s really efficient ! (wait for photos) Now, I need to find a dentist to put me a small contention metal cable behind my incisors to maintain them durably.
- Pain : Ok, I had some. First aligner was new, and it was a little painful during the first 24 hours. Then, between each aligners, I sometimes feel a small pain with new ones. Probably because I wanted to move to fast between each aligners.
- Speech : As expected, I had some difficulties to talk properly the first 3 weeks, but I get used to it.
- Cleaning process : Each day, I needed to brush my aligners to keep them clean, same for my teeth. Mouthwash was also effective to keep a good hygiene.
- Attendance : I was really focused during the process. Now with the summer, I’m feeling a bit bored and forget them sometimes.
Stay tuned 🙂


