
In my quest to embrace the USB-C standard as much as possible, I turned my attention to my trusty Bose QuietComfort 35 II headset, which still relied on the outdated micro-USB port. The journey to upgrade it was both challenging and rewarding, and I’m excited to share the process with you.
The Inspiration
I stumbled upon a GitHub project that offered plans for a new electronic board with USB-C compatibility. However, the components were incredibly tiny, and I wasn’t keen on diving into micro-soldering. Fortunately, I discovered that the Bose QuietComfort 45 (QC-45) uses USB-C, and its electronic board is somewhat compatible with the QC-35.
Gathering the Parts
I found the QC-45 PCB on AliExpress for just 8 euros, which was a steal. With the PCB in hand, I was ready to dive into the mod.. but first, I had to tackle the iPod that had been gathering dust on my desk for far too long 😁
Dismantling the QC-35
The first step was to disassemble the QC-35:
-
-
- Remove the Foam Earcup and Sheet: Gently remove the foam earcup and the foam sheet across the speaker grill on the right earpiece.
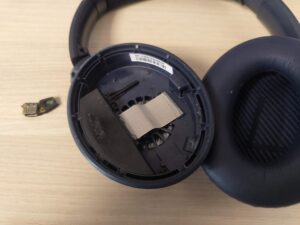
- Unscrew the Outer Shell: Remove the three Philips screws holding the metal outer shell in place. This reveals the USB daughter board and mainboard.
- Detach the Main Cable: Cut away and remove the silastic holding the cable for the mainboard, and unplug the main cable.
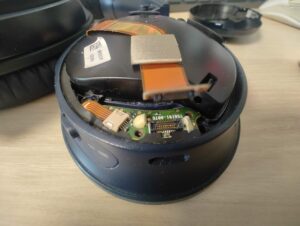
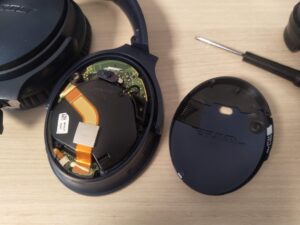
- Remove the USB Board: Unscrew the two Philips screws holding down the USB board and remove it.
- Detach the Button Board Cable: Gently pull the button board cable from the USB board.
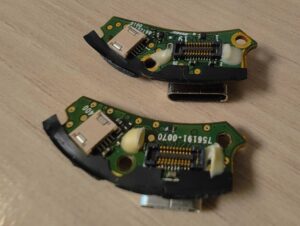
Old and new PCB (USB-C on top)
- Remove the Foam Earcup and Sheet: Gently remove the foam earcup and the foam sheet across the speaker grill on the right earpiece.
-
Modifying the Housing
The USB-C port requires a larger hole, so I applied some tape to the USB-C port and filed it gently to create a template. A Dremel with a round head was perfect for enlarging the hole.
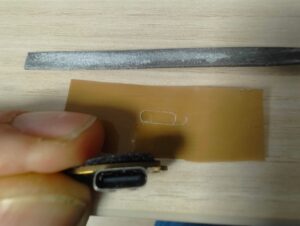
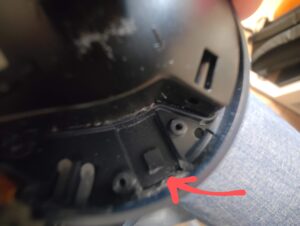
Additionally, the interior needed some adjustments: remove the small square and enlarge the side by 0.5mm on each side to accommodate the new USB-C board.
At this point, you can plug everything back in to check the fitting.
Addressing the Blue LED Issue
You might notice that the blue LED still shines even when the headset is off. This is due to a small power leakage on the QC-35, which becomes visible with the new PCB. There’s a tiny resistor that controls the blue LED.
Removing it will solve the issue while keeping the orange and white LEDs functional. This operation is tricky due to the component’s size, so I chose to rip it off with a tweezer instead of attempting to unsolder it.
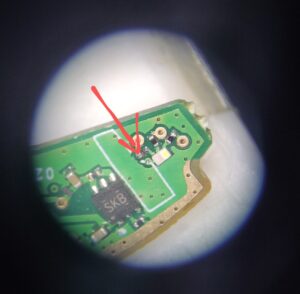
Credit to drose6102 for this picture
Reassembling the Headset
Finally, put everything back together.
The 2 Philips screw will probably have an angle, but that’s not an issue, just be gentle.
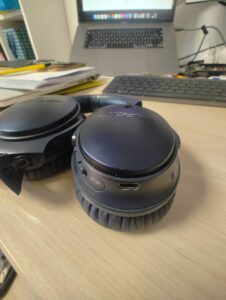
I added some hot glue to the main cable to ensure it stays secure. The hole isn’t perfect, but it’s barely noticeable from a meter away, so I’m satisfied with the result.
Conclusion
Upgrading my Bose QuietComfort 35 II to USB-C was a rewarding project that brought my headset into the modern era. If you’re looking to do the same, I hope this guide helps you on your journey. Just remember to take your time and be careful with the delicate components. Happy modding!